The 99 Nights Forest Chest Locations, Crafting Tips, and Survival Tricks
If you’ve played 99 Nights in the Forest for even a short time, you already know how scary things get when the sun goes down. The forest turns dark, strange sounds start coming from every direction, and suddenly you realize your fire is about to go out. That feeling of panic is what makes the game exciting—but also very challenging.
Reaching Day 100 is not easy. You can’t just play randomly and hope to survive. You need a clear plan, good knowledge of the map, and smart use of your resources. In this guide, I’ll explain everything in simple terms—where to find the best loot, how to craft smarter, and some survival tricks that can save your life
Understanding the Map
At first, the forest might look confusing, but it actually has a clear layout. Once you craft the map, things become much easier.
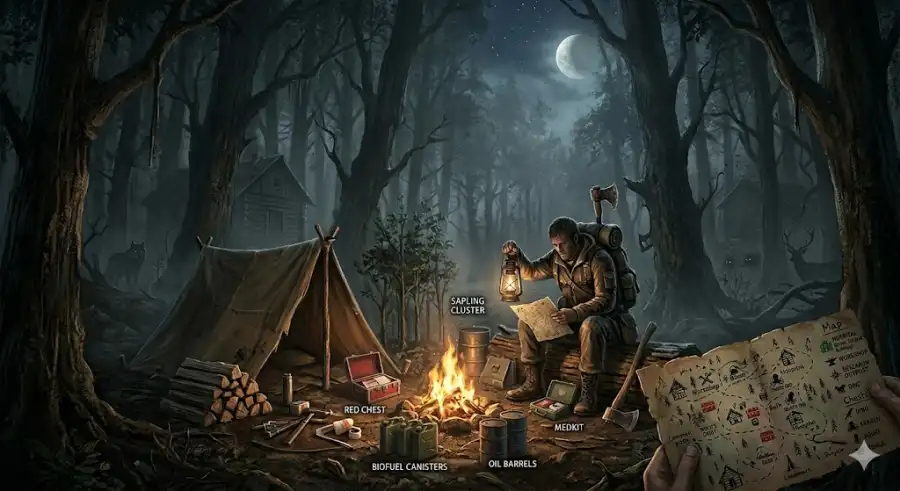
Your campfire is the most important part of the game. Everything you do is about keeping that fire burning. Think of the map as three main areas:
1. Inner Circle
This is the area around your campfire. It’s the safest place, especially in the early game. You’ll find small cabins and basic resources here.
2. Cabin Clusters
These are groups of buildings spread around the forest. Most of your early loot comes from these places. They are not completely safe, but still manageable.
3. Special Zones
These include places like the Hospital, Workshop, and Research Outpost. These areas are far from your base and more dangerous, but they contain the best loot in the game.
Exploring early is very important. The sooner you understand the map, the easier your survival will be later.
Chest Locations: Where to Find Loot
Knowing where to look can save you a lot of time and energy. You don’t want to waste stamina searching empty places.
Basic Cabins
Near your campfire, you’ll find small cabins with simple chests. These usually contain basic items like seeds, wood, or matches. They are useful in the beginning but won’t help much later. Don’t stay here too long—move out and explore.
Hospital
If your health is low, go west. The Hospital area is easy to recognize and is the best place to find healing items like bandages and medkits. It’s a good idea to visit this area regularly so you always have enough healing supplies.
Workshop
The Workshop is one of the most important places in the game. You’ll find lots of metal scraps and mechanical parts here. These are needed for advanced crafting.
One important tip: the entrance is often blocked by trees. Always carry a good axe so you can clear the way.
Red Chests (High Risk, High Reward)
Sometimes you’ll find red-colored chests. These are special and can give you rare items like weapon upgrades or strong fuel.
Before going out, use a Red Chest Offering at your campfire. This increases your chances of getting better loot. It’s a risky move, but it can be worth it.
Crafting Tips: Work Smart
Crafting is one of the most important parts of the game. But not all items are equally useful. Here are some smart tips:
1. Craft the Map First
On Day 1, your first goal should be crafting the map. You only need paper and charcoal. Without a map, you are just guessing where to go—and that’s dangerous. With a map, you can plan your trips and avoid getting lost.
2. Use the Chair Trick
Many players make a mistake with chairs. They burn them directly for firewood. Don’t do that.
Instead, take chairs back to your base and use the Grinder. This gives you much more wood compared to using raw logs. It’s a simple trick, but it saves a lot of time and effort.
3. Rescue the Kids and Build Beds
There are four kids hidden in the forest: Dino, Kraken, Squid, and Koala. Finding them is very important.
Each kid increases your score, but the real benefit comes when you build beds for them. When all four kids have beds, you get a huge resource bonus (up to 9x). This makes collecting materials much faster and easier in the late game.
Stay Alive Longer
As you progress, the game becomes harder—especially after Night 30. Here are some useful survival tricks:
Use Ladders for Safety
Enemies like wolves cannot climb well. If you’re being chased, find a cabin with a ladder and go to the roof. The enemies will stay below, and you can safely wait until it’s clear.
Upgrade Your Fuel
In the early days, wood is enough to keep your fire burning. But later, it won’t be enough.
You need better fuel like oil. Build an Oil Drill as soon as possible. If placed correctly, it will automatically produce fuel near your campfire. This makes survival much easier.
Watch Out for the Deer
The Deer is one of the most dangerous creatures in the game. When it’s nearby, your screen becomes blurry and you hear a strange sound.
When this happens, stay close to your campfire. The light protects you. If you run into the dark, you are in serious danger.
Plant Trees Smartly
When farming wood, don’t spread your saplings everywhere. Plant them close together.
When they grow, you can cut multiple trees with one swing. This saves stamina and lets you collect wood very quickly.
Surviving in 99 Nights in the Forest is all about planning and patience. Don’t take unnecessary risks. If it’s getting dark and you’re far from home, go back. Missing one chest is better than losing your entire progress.
Focus on important areas like the Workshop for metal and the Hospital for healing. Rescue the kids early and make sure they have beds. And most importantly—never let your fire go out.
If you follow these tips, reaching Day 100 will feel much more possible. Stay careful, stay prepared, and good luck surviving the forest!